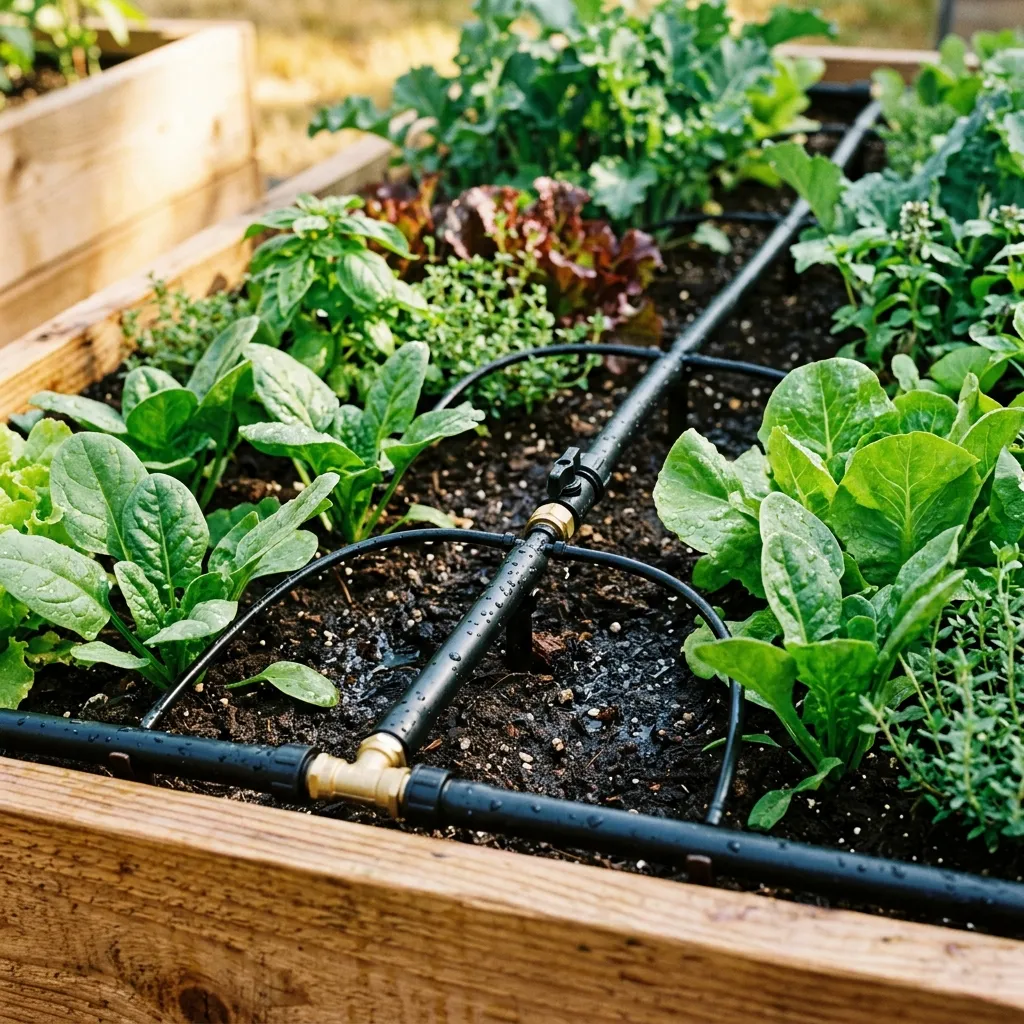
By Azura · Updated July 2026 · Raised Garden Hub is reader-supported. When you buy through links on our site, we may earn an affiliate commission at no extra cost to you.
The best drip irrigation kit for most raised beds is a Raindrip or Rain Bird raised-bed starter kit — enough 1/4-inch dripline, emitters, and faucet fittings to cover two to four standard beds, with no plumbing skills required. Add a battery hose timer and your beds water themselves at dawn, even when you are away.
Raindrip Raised Bed & Container Drip Kit
- Everything for 2–4 beds in one box
- 1/4-inch tubing bends easily around beds
- Connects to any outdoor faucet — no tools
- Pressure regulator and fittings included
- 1/4-inch tubing limits very large gardens
- Emitters need an annual flush to stay clog-free
Hand-watering a raised bed in July is a daily chore, and uneven watering is behind a surprising number of problems — from blossom end rot on tomatoes to soil that dries out too fast. A drip kit fixes both: it delivers a measured amount of water straight to each plant’s roots, on a schedule. Here is how to pick the right one.
Why drip beats hand-watering and soaker hoses
- Even coverage. Emitters release the same amount at every plant, so the far end of the bed gets as much as the faucet end — the main weakness of soaker hoses.
- Deeper roots. Slow, deep watering encourages roots to grow down instead of staying shallow, which makes plants far more drought-resilient.
- Less waste and disease. Water goes to the soil, not the leaves, cutting evaporation loss and reducing fungal problems like powdery mildew.
- Hands-off with a timer. Pair the kit with a battery faucet timer and your beds water at dawn whether you are home or on vacation.
If you are still deciding how often beds need water before automating it, read how often to water a raised garden bed first.
What to look for in a kit
Tubing size: 1/4-inch vs 1/2-inch
This is the main fork in the road. 1/4-inch tubing is flexible, easy to route around a few beds, and comes in most starter kits — ideal for one to four beds. 1/2-inch mainline tubing acts as a header you run between beds, then branch 1/4-inch lines off it; it handles higher flow and scales to a big garden without pressure drop. Buy 1/4-inch if you have a handful of beds, 1/2-inch mainline if you are irrigating a whole backyard plot.
Emitter style: dripline vs point emitters
- Emitter-spaced dripline has drippers built in every 6–12 inches. You just lay rows down the bed — the simplest, most reliable option for densely planted vegetable beds.
- Point/button emitters plug into blank tubing wherever you want them — better for spaced-out plants like tomatoes or peppers where you water individual root zones.
Most gardeners do best with dripline for leafy rows and a few point emitters for big individual plants.
Pressure regulator and filter
Household faucets run 40–60 PSI; drip emitters want 20–30 PSI. A pressure regulator keeps fittings from popping off, and a mesh filter stops grit from clogging emitters. Good kits include both — if yours doesn’t, add a faucet-thread regulator and filter for a few dollars. Skip this step and you’ll be chasing blown connectors all summer.
Timer compatibility
The kit threads onto a hose faucet, and so does a battery timer — so almost any kit works with almost any timer. That’s the upgrade that turns drip from “less work” into “no work.”
Check faucet timers on Amazon →At a glance
| Pick | Best for | Tubing | Timer included | Price range |
|---|---|---|---|---|
| Raindrip Raised Bed Kit | Best overall | 1/4-inch | No | $30–$50 |
| Rain Bird 1/2” Mainline Kit | Large gardens | 1/2-inch + 1/4-inch | No | $40–$70 |
| Garden timer + kit bundle | Set-and-forget | 1/4-inch | Yes | $45–$80 |
| DIG/Orbit budget kit | Cheapest start | 1/4-inch | No | $20–$35 |
Choose a raised bed irrigation system by bed count
The best irrigation system for raised beds changes when the garden grows. A small kit is simpler for one or two beds; a 1/2-inch mainline becomes the useful backbone once several beds share one faucet. Use this as a starting layout, then measure the actual route from the spigot and around each bed before ordering tubing.
| Garden size | Recommended backbone | In-bed layout | What to buy first |
|---|---|---|---|
| 1 bed | Faucet adapter into 1/4-inch tubing | 3–4 parallel dripline rows | Small raised-bed kit + filter/regulator |
| 2–4 beds | Short 1/2-inch header or a well-sized starter kit | Separate 1/4-inch branch per bed | Mainline, shutoff valves, 100–150 ft of branch tubing |
| 5–8 beds | 1/2-inch mainline along the bed ends | Valved branch into every bed | Expandable kit, filter, regulator, timer |
| 8+ beds or long runs | Zoned mainline; split high-flow sections | Match emitter type to crop rows | Design by total flow, not kit bed-count claims |
For a typical 4×8 bed, three or four long rows put dripline roughly 12 inches apart. Leave slack at corners, add a flushable end, and use a small shutoff valve at each bed. That valve matters: new seedlings, established tomatoes, and an empty bed should not all be forced onto one runtime.
A scalable layout for several raised beds
- Put the filter, pressure regulator, backflow device, and timer at the faucet.
- Run 1/2-inch mainline along the short end of the beds rather than snaking it through each bed.
- Tee one valved 1/4-inch branch into every bed.
- Lay emitter tubing in parallel crop rows; avoid tight kinks around corners.
- Flush every branch before installing the final end cap, then test for dry stripes.
This keeps the existing page as the owner for drip irrigation system for raised beds, raised bed irrigation system, and kit intent instead of creating near-duplicate URLs.
Best overall — Raindrip Raised Bed & Container Kit
Raindrip Raised Bed & Container Drip Kit
- Covers 2–4 standard beds out of the box
- Flexible 1/4-inch tubing routes around any layout
- Includes pressure regulator and fittings
- Tool-free faucet connection
- 1/4-inch tubing limits very large plots
- Add a timer separately for full automation
Raindrip’s raised-bed kit hits the sweet spot for most home gardeners: enough tubing and emitters to cover a couple of 4×8 beds, a pressure regulator in the box, and a faucet connector that needs no tools. The 1/4-inch tubing bends easily around corners and between plants, so you can lay out rows in minutes.
Best for large gardens — Rain Bird 1/2-inch Mainline Kit
Rain Bird Drip Irrigation 1/2-inch Mainline Kit
- 1/2-inch mainline scales to many beds without pressure loss
- Mix dripline and point emitters off one header
- Rain Bird fittings are widely available to expand later
- Strong UV-resistant tubing
- More planning to lay out than a single-bed kit
- Slightly higher upfront cost
If you have more than three or four beds, a 1/2-inch mainline is the right backbone. You run the thick tubing between beds as a header, then branch 1/4-inch dripline into each one. Rain Bird’s fittings are the de facto standard, so expanding the system later is easy and cheap.
Best set-and-forget — Kit + battery timer bundle
Drip Irrigation Kit with Battery Timer
- Timer waters at dawn automatically
- Everything in one box — no compatibility guesswork
- Great for travelers and vacation watering
- Some bundles add Wi-Fi/weather-skip
- Battery timers need a fresh battery each season
- Wi-Fi models cost more
If you’ll forget to turn the water on — or you travel — buy a kit bundled with a battery faucet timer. Set the frequency and duration once and the beds water themselves at dawn. This pairs especially well with a self-watering raised bed for the most drought-proof setup possible.
Best budget — DIG or Orbit starter kit
DIG / Orbit Drip Irrigation Starter Kit
- Cheapest way to automate one or two beds
- Includes the core fittings to get started
- Easy to expand with universal 1/4-inch parts
- May lack a pressure regulator — check before buying
- Thinner tubing than premium kits
For a single bed or a tight budget, a DIG or Orbit starter kit gets you going cheaply. Just confirm it includes (or add) a pressure regulator and filter, since the budget kits sometimes leave them out.
How to set it up in 20 minutes
- Thread the faucet connector onto your outdoor tap, followed by the filter and pressure regulator (if separate).
- Run the mainline along the back edge of your beds, or straight in for a single bed.
- Lay dripline in rows down each bed, about 12 inches apart, and add point emitters at big individual plants.
- Cap the line ends and turn the water on low to flush out any grit.
- Add the timer and set it for ~30–45 minutes, 2–3 times a week, then adjust to your soil.
Rule of thumb: A day after watering, dig down 2–3 inches. Damp is right; soggy means cut the run time; bone-dry means add a few minutes.
A few setup mistakes to avoid
- Skipping the pressure regulator — full faucet pressure blows fittings off and splits tubing.
- Spacing dripline too wide — gaps over 12–18 inches leave dry stripes between rows.
- Forgetting the end caps — open line ends dump all your pressure at the far end.
- Never flushing — once a season, pop the end caps and flush grit out before it clogs emitters.
Pair the right kit with good soil and your watering problems mostly disappear. If your beds dry out fast even with drip, the fix is usually the fill — see the best soil mix for raised garden beds and our roundup of the best raised garden beds of 2026. If the lines will run below a protective frame, choose the frame first with the raised bed covers guide so fittings do not block the cover clips.
Frequently asked questions
What is the best drip irrigation kit for raised garden beds?
For most gardeners, the Raindrip or Rain Bird raised-bed kits are the best all-rounders — they include enough 1/4-inch tubing, emitters, and fittings to cover two to four standard beds and connect straight to an outdoor faucet. For larger gardens, a Rain Bird 1/2-inch mainline kit scales better. Pair any kit with a battery hose-faucet timer for true set-and-forget watering.
How much drip tubing do I need for a 4x8 raised bed?
Plan on three to four rows of 1/4-inch dripline running the long way down a 4x8 bed, spaced about 12 inches apart — roughly 30-35 feet of tubing per bed. Emitter-spaced dripline (built-in drippers every 6-12 inches) is the simplest option; you just lay it in rows and connect to a 1/2-inch mainline header.
Do I need a pressure regulator and filter for drip irrigation?
Yes for most home setups. Household faucet pressure (40-60 PSI) is too high for drip emitters, which are designed for 20-30 PSI, so a pressure regulator prevents fittings from blowing off. A small mesh filter stops grit from clogging emitters. Many quality kits include both; if yours does not, add a faucet-thread regulator and filter for a few dollars.
Is drip irrigation better than soaker hose for raised beds?
Drip irrigation gives you more even, controllable watering than a soaker hose. Soaker hoses are cheaper and simpler but tend to release more water at the faucet end and less at the far end, and they clog and degrade faster. Drip emitters deliver a measured amount at each plant, waste less to evaporation, and last for years. For raised beds with mixed crops, drip wins.
Can I put a raised bed drip system on a timer?
Yes, and you should. A battery-powered timer that threads onto the hose faucet lets you set watering frequency and duration so beds get watered at dawn even when you are away. Smart Wi-Fi timers add weather-skip features that pause watering after rain. A timer is the single upgrade that makes drip irrigation truly hands-off.
How long should I run drip irrigation on a raised bed?
Start with about 30-45 minutes, two to three times a week, then adjust based on your soil and weather. Drip delivers water slowly, so longer, less frequent runs encourage deep roots better than short daily bursts. Check moisture 2-3 inches down a day after watering: damp is right, soggy means cut back, dry means add time.